


Shop all
-
Shop allAarke Archive
-
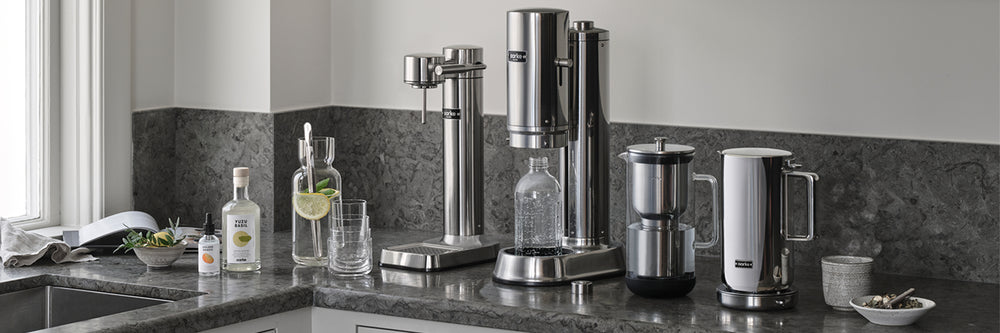
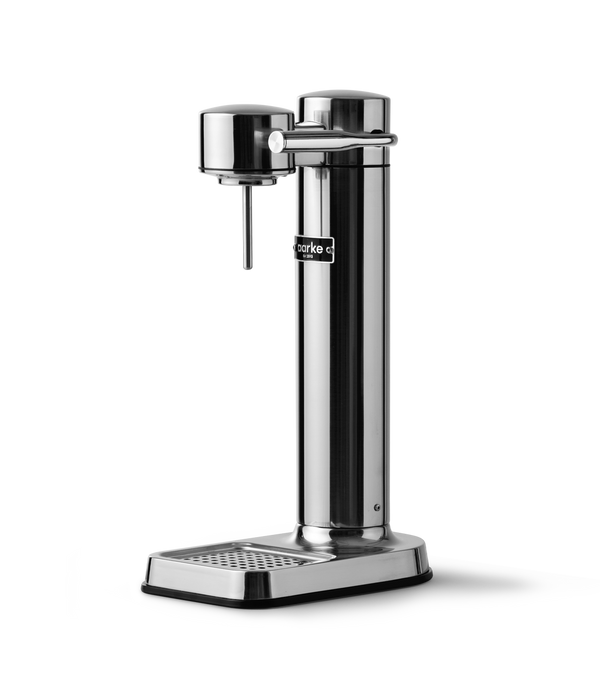
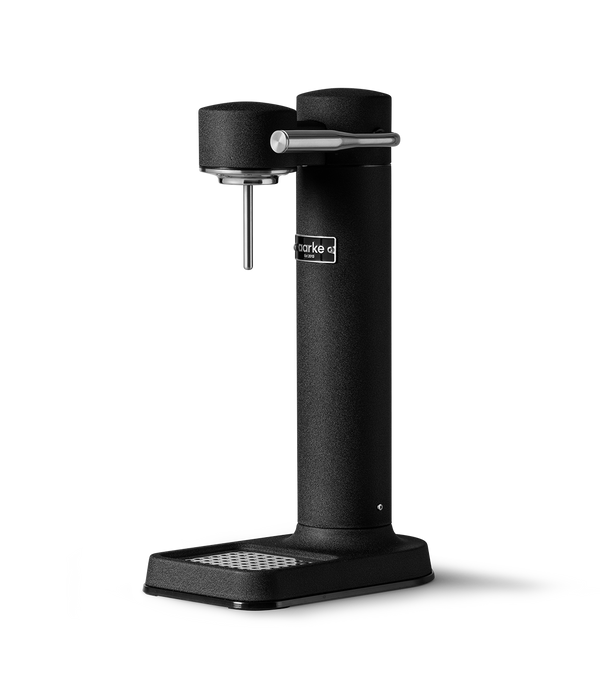
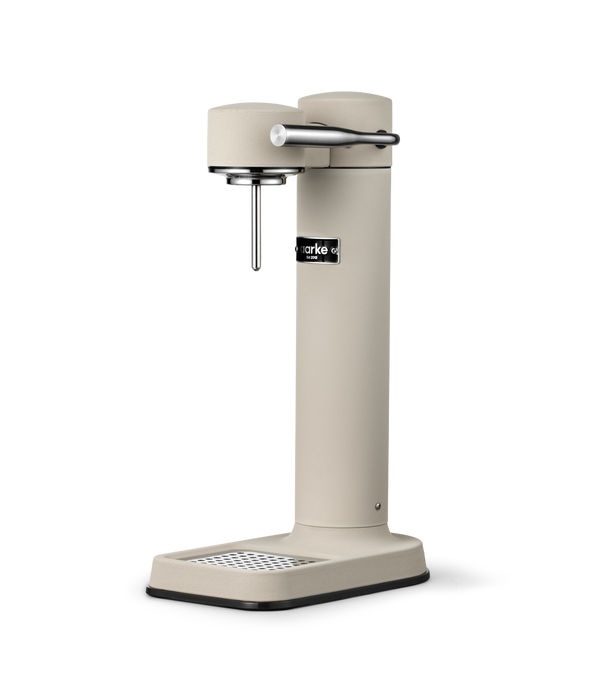
Sparkling Water MakersSparkling Water MakersSparkling giftsDiscover Aarke Archive
-
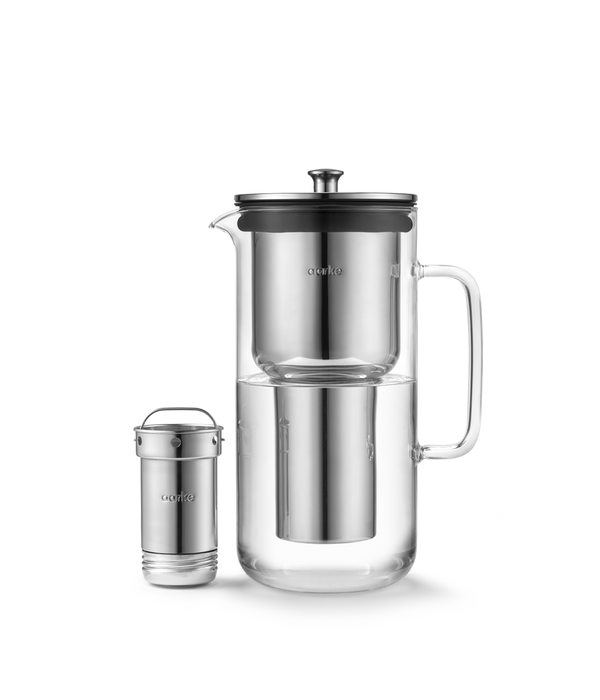
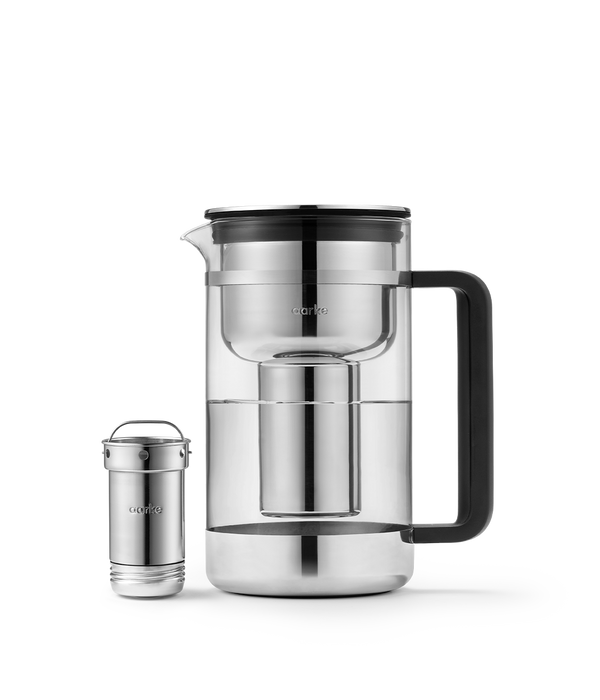
Water Filter PitchersWater Filter PitchersFilter Refill GranulesAccessoriesUnique refillable ReFilter System™ - no plastic cartridgesBenefits of filtered water with Aarke Purifier
-
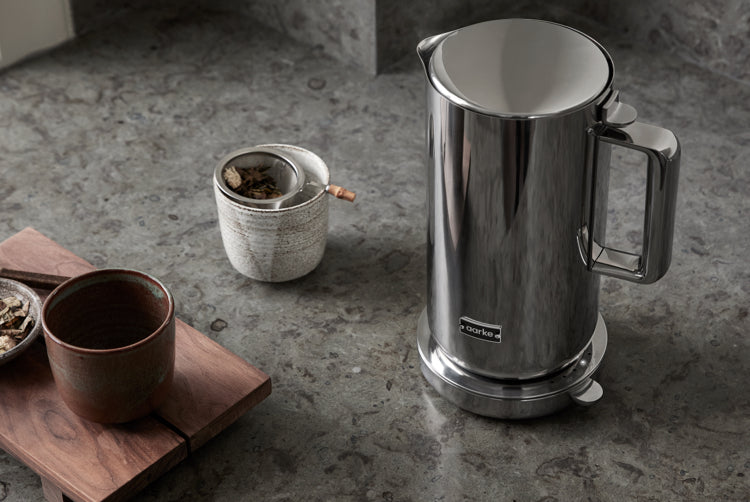
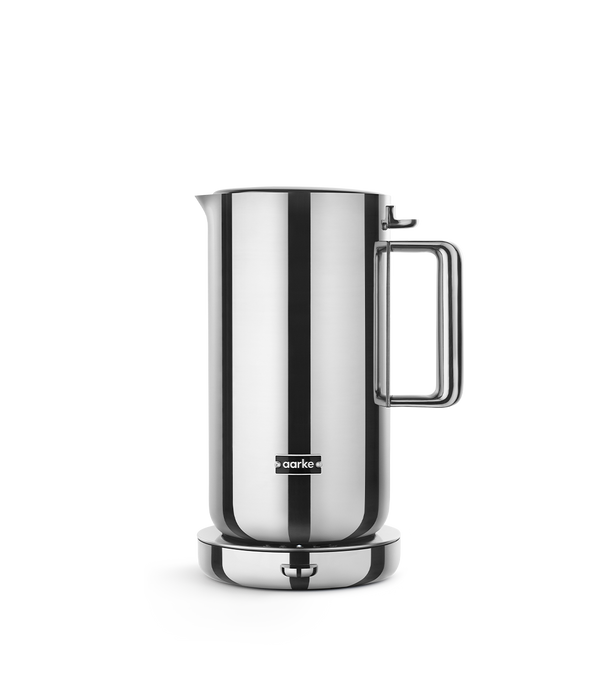
KettleElectric KettlesGift the KettleExplore unique features the Aarke Kettle
-
Support